Creation of a Pet Portrait
|
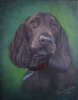
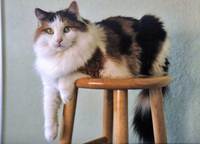
All pet portraits start with one or more photographs of the
subject. In this case, I was able to work directly from the one
photograph shown here. This portrait was done in pastels and
is 11" x 14". Not all pet portraits are created in exactly the
same way, but this is a general outline of the steps I take to
create a portrait. Click on any of the images below to get a
larger view.
|
|
|
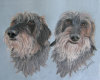
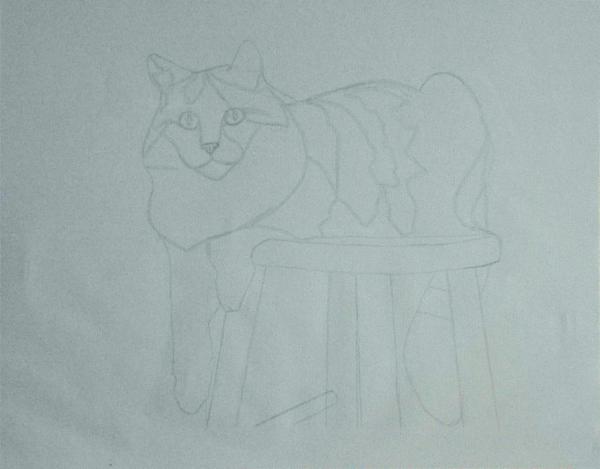
The first step in creating any pet portrait is to get an accurate sketch
laying out all the major body areas and any distinctive color patches.
It is very important to get the sketch right, as it is the foundation
upon which the entire portrait is based.
|
|
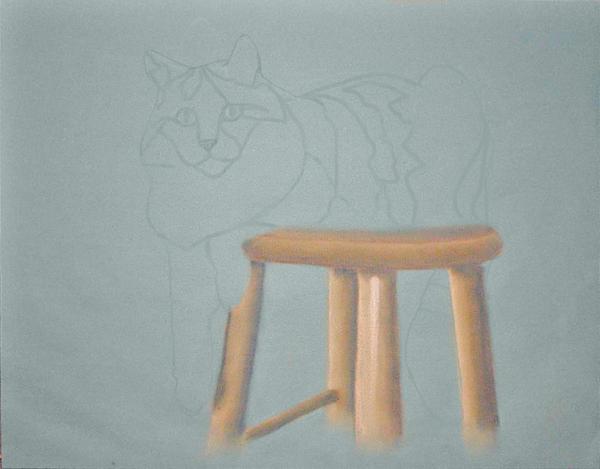
After the portrait has been sketched, the next step is to complete any
backgrounds that may be in the picture. In this case, the stool was
added in since it was integral to the composition.
|
| |
|
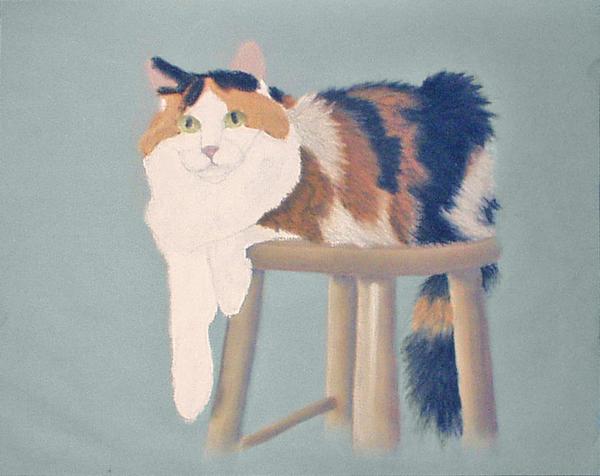
The next step is to block in all the major areas of color, as in an
underpainting.
|
|
Now, starting at the tail and working forward, I begin to add the
details of the fur. It is easier to get the different fur colors to
overlap properly by starting at area farthest from the head.
|
| |
|
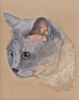
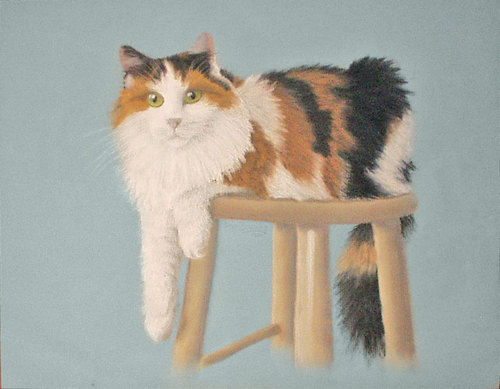
This is a continuation of the previous step of adding detail to the fur,
finishing up around the head and face.
|
|
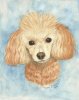
The final step is to add the details to the face: the eyes, nose, and
mouth. This is the trickiest step and often requires the most time,
even though the area involved is relatively small.
|
|